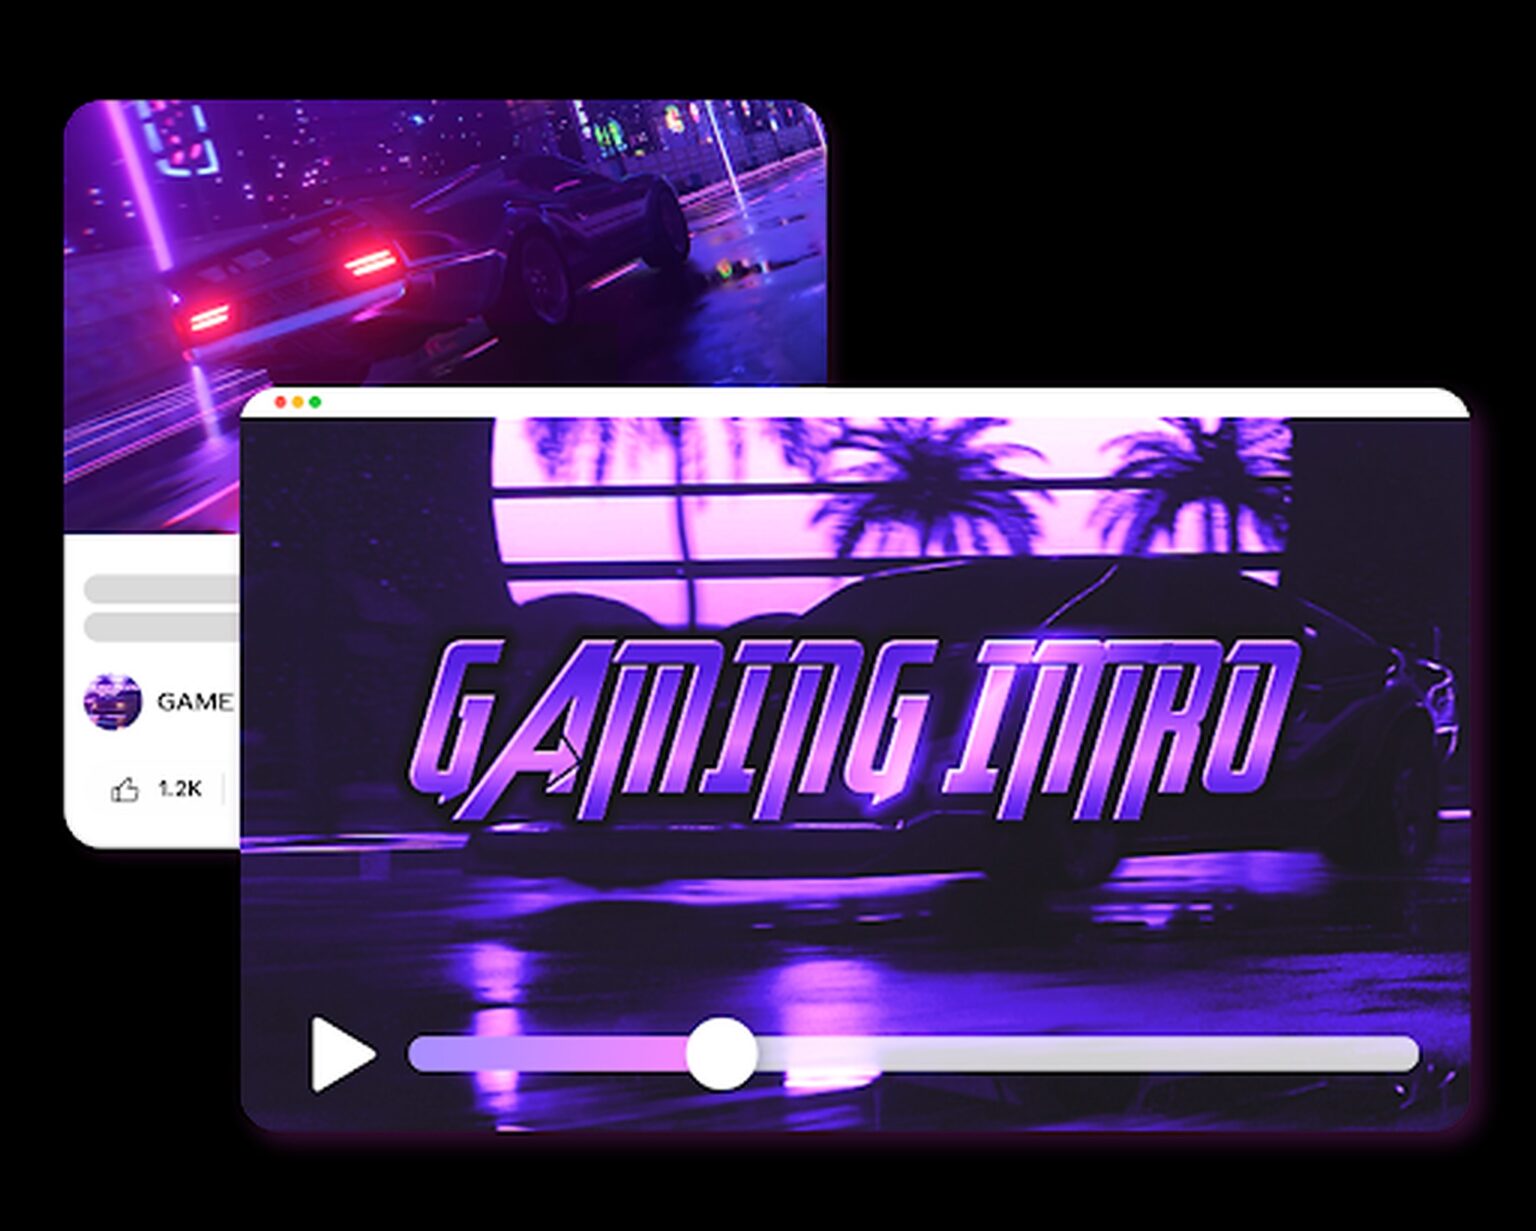
How to Make High-Quality Gaming Videos using CapCut
Creating high-quality gaming videos is crucial for capturing the attention of viewers and growing your gaming channel. CapCut, a free online video editor tool, offers a range of powerful features that can help you enhance your gaming videos and make them stand out. In this step-by-step guide, we will walk you through the process of making high-quality gaming videos using CapCut.
Step 1: Sign Up for CapCut
Go to CapCut and sign up by filling in your details.
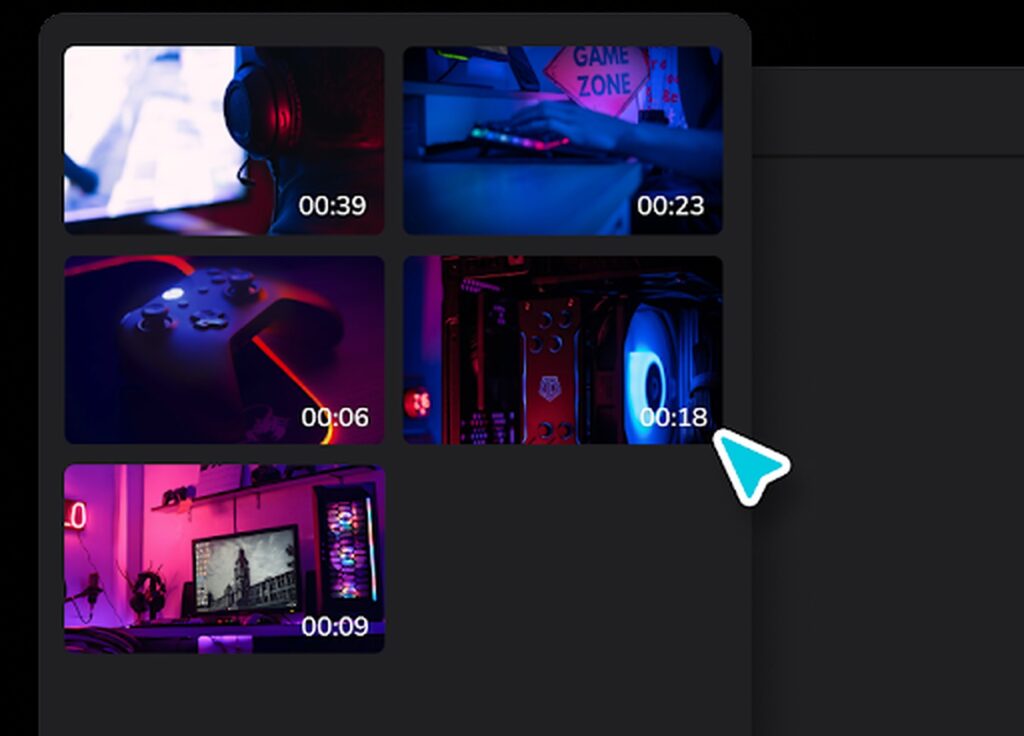
Step 2: Import and Organize Footage
Launch CapCut and tap on the “+” icon to create a new project. Next, import your gaming footage by tapping on the “Media” option. You can select multiple video clips and images or even record new footage.
Once imported, organize your footage by arranging the clips in the desired order. This step is crucial for maintaining a smooth flow throughout your gaming video.
Step 3: Trim and Cut Footage
To remove any unnecessary parts or mistakes from your footage, tap on a clip and select the scissor icon. Use the handles to trim the beginning and end of the clip as needed. Repeat this process for all clips that require trimming.
Step 4: Apply Transitions and Effects
CapCut offers a variety of transitions and effects to enhance the visual appeal of your gaming videos. Tap on the “Effects” tab and explore the available options. Select a transition or effect and apply it to the desired clip by dragging and dropping it onto the timeline.
Experiment with different transitions and effects to find the ones that best complement your gaming footage. Avoid overusing effects, as it may distract viewers from the gameplay.
Step 5: Add Background Music and Sound Effects
Source: CapCut
Music and sound effects are crucial in creating an immersive gaming video experience. To add background music, tap on the “Music” tab and select a track from the available options. CapCut also allows you to import your own music files.
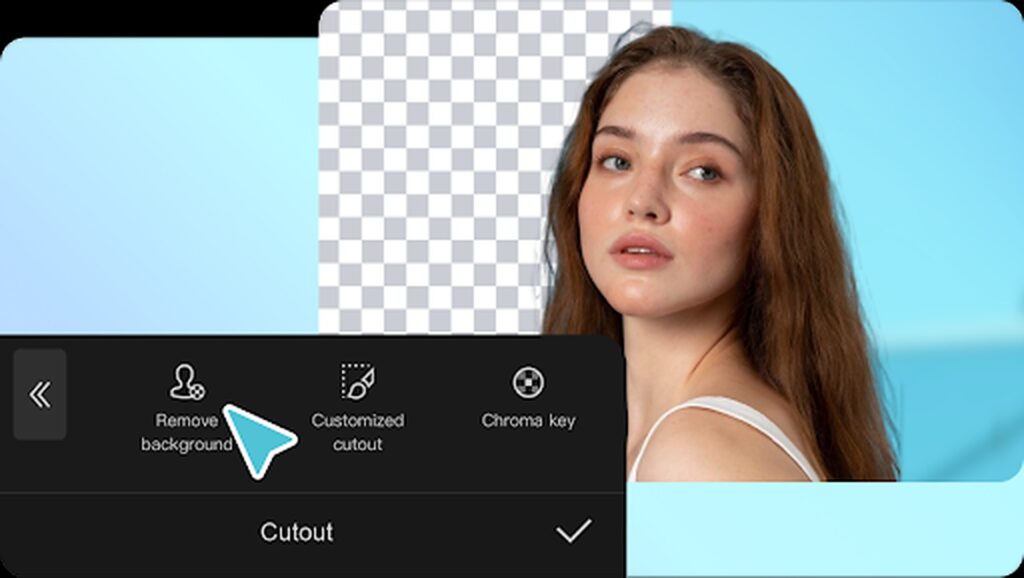
To add sound effects, tap on the “Sound” tab and explore the library of pre-loaded effects. You can also import your own sound effects if desired. Adjust the volume levels of the background music and sound effects to ensure they complement the gameplay without overpowering it. Also, remove any unwanted background using a video background editor to ensure you achieve an attractive one.
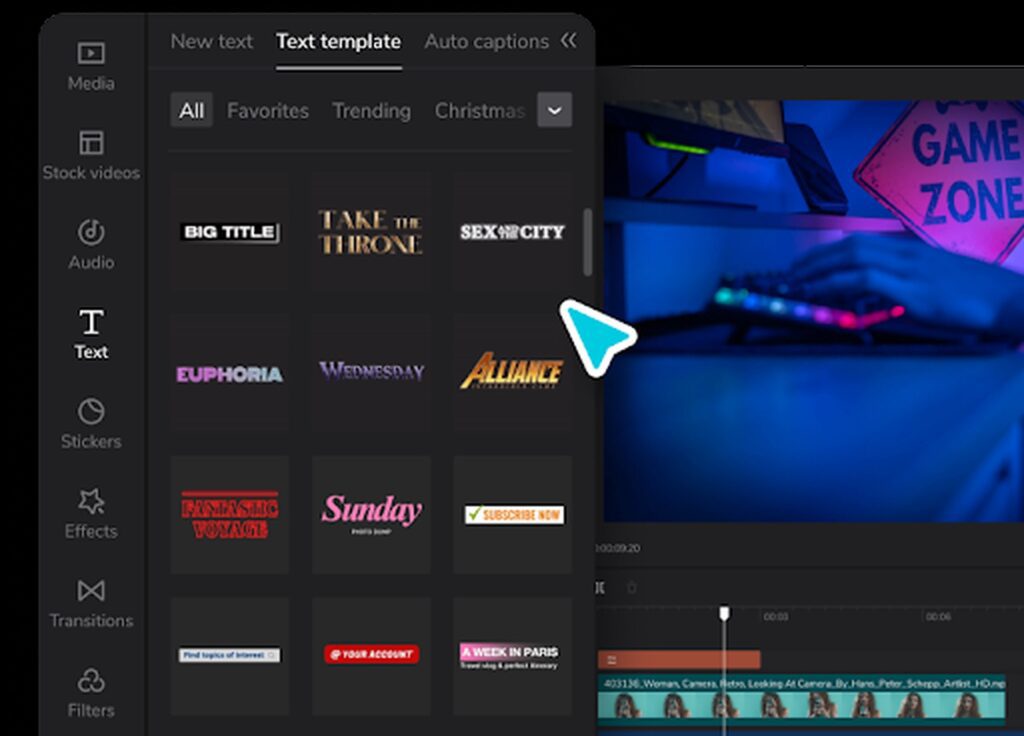
6: Include Text and Captions
Source: CapCut
Adding text and captions can provide context, highlight key moments, and engage viewers. Tap on the “Text” tab and select a style that matches your gaming video. Enter the desired text and adjust its position, size, and color. You can also animate the text by selecting a motion preset.
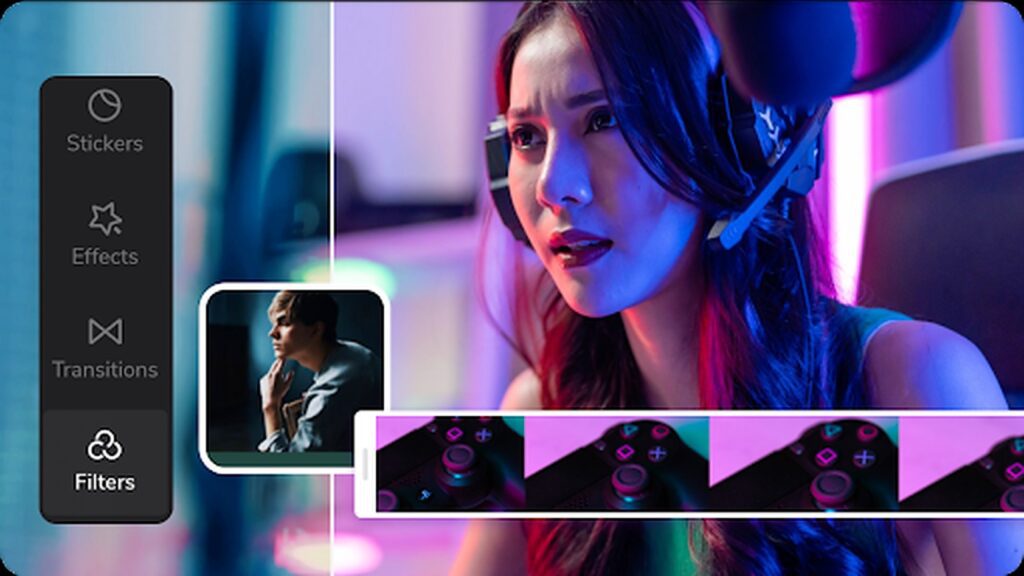
Step 7: Utilize Filters and Color Correction
Source: CapCut
CapCut offers a range of filters and color correction options to enhance the visual quality of your gaming videos. Tap on the “Filter” tab and select a filter that suits your gaming style. Adjust the intensity of the filter to achieve the desired effect.
Additionally, you can fine-tune your footage’s color balance, brightness, contrast, and saturation by tapping on the “Adjustments” tab. Experiment with different settings to find the optimal look for your gaming video.
Step 8: Apply Overlays and Stickers
You can add overlays and stickers to your gaming videos for a more personalized touch. CapCut provides various overlays, including borders, shapes, and emojis. Tap on the “Overlay” tab, select an overlay, and adjust its size and position as needed.
To add stickers, tap the “Sticker” tab and browse the available options. Choose a sticker that aligns with your gaming theme and drag it onto the desired location in the video.
Step 9: Fine-tune and Adjust Clip Speed
CapCut allows you to fine-tune individual clips and adjust their playback speed. Tap on a clip in the timeline and select the speed icon. You can choose to speed up or slow down the clip to create dramatic or slow-motion effects. Experiment with different speeds to enhance the impact of intense gaming moments.
Step 10: Add Picture-in-Picture Effects
To add a picture-in-picture effect, tap on the “PIP” tab. Select the clip or image you want to overlay on your gaming footage. Adjust the picture-in-picture element’s size, position, and opacity to ensure it doesn’t obstruct important gameplay details. This feature is particularly useful for including face cam footage or showcasing additional content alongside the gameplay.
Step 11: Utilize Advanced Editing Tools
Source: CapCut
CapCut offers advanced editing tools to refine your gaming videos further. Explore options like keyframe animation, which allows you to create smooth transitions and dynamic effects by adjusting parameters over time. Additionally, you can use the masking tool to highlight specific areas or elements within a clip. These advanced editing features can add a professional touch to your gaming videos.
Step 12: Export and Share your Gaming Video
Once you are satisfied with the editing of your gaming video, it’s time to export and share it with your audience. Tap on the “Export” button, and choose the desired video quality, resolution, and format. CapCut provides various export options to suit different platforms and requirements. Finally, tap on “Export” to begin the rendering process.
Once the video is rendered, you can share it directly to social media platforms, upload it to your gaming channel, or save it to your device for later use.
Conclusion
Creating high-quality gaming videos using CapCut is a rewarding process that allows you to showcase your gaming skills and engage with your audience. By following this step-by-step guide, you can utilize CapCut’s powerful features to enhance your gaming videos, add visual and audio effects, and create a captivating viewing experience.
Experiment with different editing techniques, stay consistent with your style and continue to refine your skills to produce remarkable gaming content that resonates with your viewers. Happy editing!