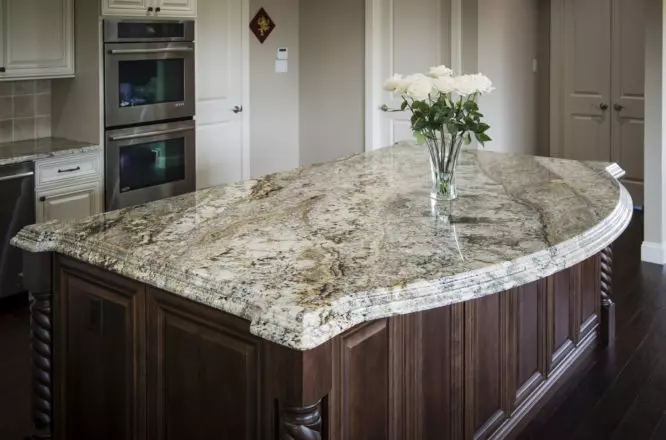
How To Repair Chips And Scratches On Marble Countertops?
For any kitchen or bathroom, marble countertops are a classy and timeless option. Nevertheless, despite their beauty, they are prone to chips and scratches over time. The good news is that you may simply correct these flaws and bring back the original beauty of your marble countertops if you have the necessary information and equipment. In this post, we’ll walk you through the step-by-step procedure for fixing chips and scratches on marble countertops so they look perfect once again.
Understanding Marble’s Characteristics
Before diving into the repair process, it is important to understand the characteristics of marble. Marble is a natural stone, composed mainly of calcium carbonate, which makes it relatively soft and vulnerable to damage. It is essential to approach repairs with care to avoid causing further harm. Additionally, marble countertops come in various colors and patterns, so it is crucial to match the repair materials as closely as possible to achieve a seamless result.
Assessing The Damage
Examining the breadth of the damage is the first thing that needs to be done when dealing with chips and scratches. Conduct a careful inspection of the damaged region to establish whether it is just a superficial chip or a more significant scrape. It is common practice to use a polishing product to remove shallow surface scratches, but more significant chipping may require further procedures. You will be able to select the most suitable method of repair after you have an accurate assessment of the level of damage.
Repairing Minor Surface Scratches
A marble polishing chemical can be used to repair small surface blemishes and bring back the gloss. Start by thoroughly wiping the countertop with water and detergent to remove any dirt. Use a soft cloth and a tiny amount of polishing compound to gently rub the scratched area in circular motions. Polishing should continue until the scratch disappears, clearing away extra compound as needed. one you’re done, scrub the countertop one more to get rid of any leftover dirt and bring back its original sheen.
Filling And Repairing Chips
A slightly different strategy is needed for deeper chips. Clean the damaged area with a moderate detergent and water before beginning to fix them. When the epoxy resin has dried, apply a marble restoration kit or high-quality epoxy resin that closely matches the color of your marble. Apply the epoxy or filler sparingly, making sure it fills the chip’s cavity. To smooth the surface and achieve an equal finish, use a putty knife or a similar instrument. By the manufacturer’s directions, let the filler dry and solidify.
Sanding And Polishing
After the filler has hardened, it’s time to sand and polish the repaired area. Begin by using fine-grit sandpaper, starting with a higher grit and gradually moving to a finer one, to level the repaired surface with the surrounding marble. Be careful not to sand too aggressively, as you may damage the surrounding area. Once the surface is even, switch to a marble polishing compound and follow the same process as mentioned earlier for minor surface scratches. Polish the repaired area until it blends seamlessly with the rest of the countertop.
Conclusion
It’s a satisfying process that can bring back the attractiveness of your kitchen or bathroom to fix cracks and scratches in marble countertops. You may confidently deal with both little surface scratches and larger chips by carefully following the procedures provided in this article. To get the greatest results, be careful handling the repairs, using the right materials, and taking your time. Your marble worktops can maintain their luster for many years with regular upkeep and sporadic repairs.


