Liquidity Remove Issues Uniswap – Can’t Remove, Stuck LP Tokens, Confirm Not Working
While removing liquidity on Uniswap, our team encountered a common issue many users face: can’t remove liquidity from Uniswap. We faced challenges such as stuck LP tokens, a non-functioning ‘Confirm’ button, and other related difficulties.
Solving the problem with UniswapV2Assistant
It took a lot of time to find a solution, but fortunately, we found UniswapV2Assistant — a smart contract specially designed to solve similar problems on Uniswap. Link to UniswapV2Assistant
Step-by-Step Guide to Solve the Problem:
1. Locate the Liquidity Pool on Etherscan
- Open etherscan
- Go to the address of your token.
- On your token’s page, scroll down to the “Holders” section
- Identify and click on the Uniswap liquidity pool address. Ensure it’s the Uniswap v2 (UNI-V2) pool.
2. Check Your Balance in the Liquidity Pool
- Select the “Read Contract” tab on the liquidity pool’s page.
- Execute the “balanceOf” function, inputting your wallet address to determine the number of tokens in the pool.
- Note or copy the resulting balance.
3. Approve
- Switch to the “Write Contract” tab.
- Connect your wallet using web3.
- Execute the “Approve” function, specifying the UniswapV2LiquidityAssistant – 0x9B2b1D4873A6B52fd3c1aD41969058e741CCA19B contract address and the balance from the previous step.
- Confirm the transaction.
4. Remove Liquidity
- Navigate to the UniswapV2LiquidityAssistant – 0x9B2b1D4873A6B52fd3c1aD41969058e741CCA19B address and select “Write Contract”.
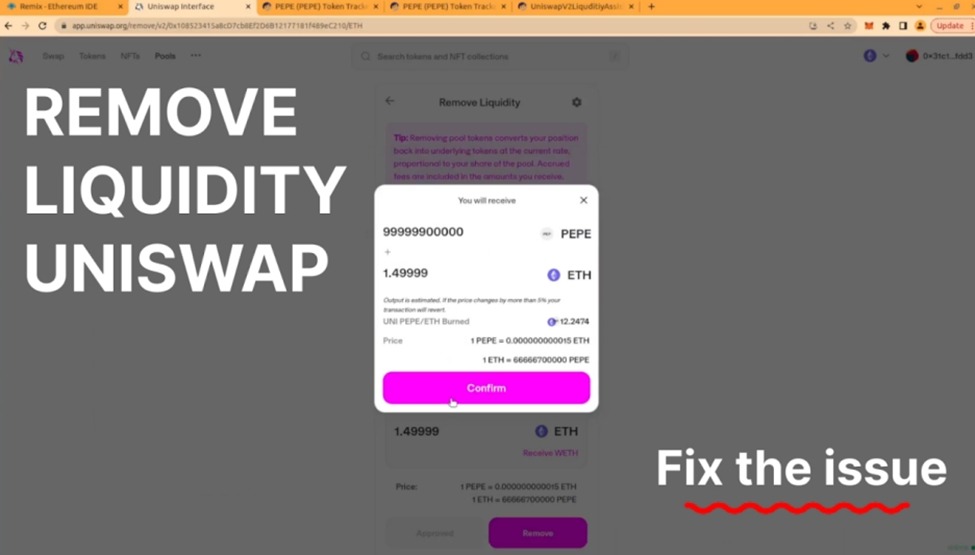
- Execute the “ForceRemoveLiquidity” function, providing your liquidity pool’s address and the number of tokens you wish to remove.
File: Remove Liquidity uniswap.png - Confirm the transaction.
5. Done!
- Your liquidity has been successfully removed.